Hello crafty friends!! We don’t know about you, but we are totally into summer crafting right now and this colorful birthday card is giving us all of the tropical vibes! We just love how this project turned out. The beautiful colors and textures with those pretty white flowers just makes
us long to sit on a sandy beach in the sunshine!
Focal Point:
- Three colors of dye ink were applied to the large happy sentiment stamp. The transitions between the colors were softened using a blending brush and the image was stamped onto mid-weight white cardstock. This process was repeated multiple times until a smooth and saturated blend of color was achieved. Once the ink was dry, the image was fussy-cut.
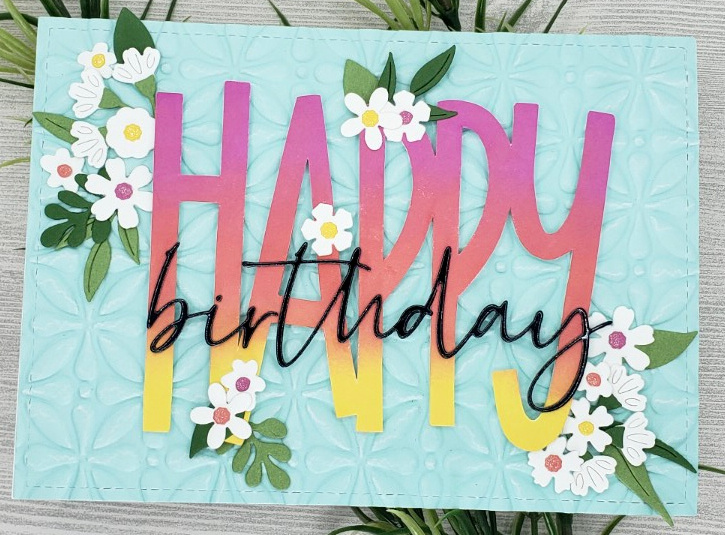
- The flowers were die cut from white cardstock and the foliage from two different green shades. The flower centers were cut from shades of cardstock to match the colors used in the sentiment.
- The flowers were assembled using small dabs of liquid glue.
- The subsentiment was die cut twice from black cardstock and once from glossy cardstock. The die cuts were then stacked with the glossy layer on top and adhered together with liquid glue to form a sturdy and dimensional, chipboard-like die cut.
Background Panel:
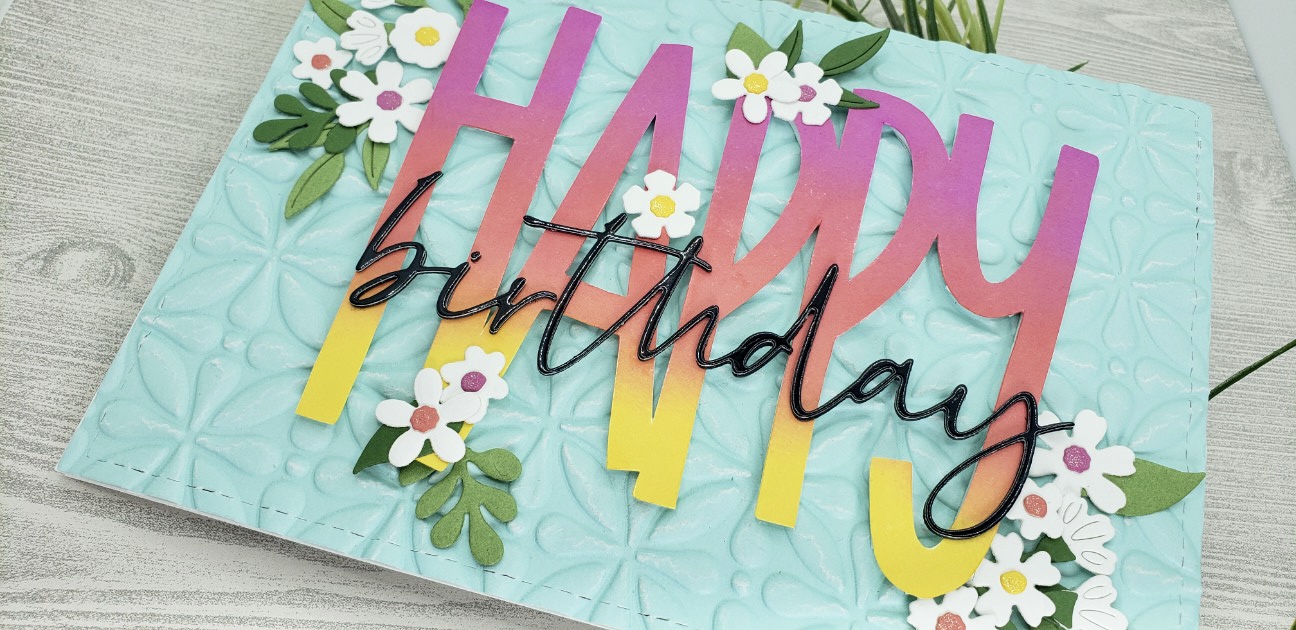
- A 5”x7” panel of blue-green cardstock was cut using an A7 stitched rectangle die.
- The card panel was lightly misted with water to soften the paper fibers, and was then dry
embossed. Even with this precaution, the paper did crack resulting in a slightly distressed appearance which we quite liked so we kept going.
Card Assembly:
- The embossed card panel was adhered to a 5”x7” white landscape oriented card base using a combination of strong double sided adhesive tape and liquid glue.
- The large main sentiment was adhered to the center of the card panel with dimensional foam adhesive.
- The subsentiment was adhered directly over the top of the main sentiment using liquid glue.
- The floral elements were arranged in several groupings around the main sentiment and were adhered using a combination of liquid glue and foam adhesive.
Finishing Touches:
- A coating of glitter marker was applied to the centers of the white flowers
We hope you enjoyed our card for today. And as always, we are truly grateful for your visit. Stay well and we will see you next time!
Crafty hugs!
Michele and Maureen

Supply List:
- Large sentiment: Taylored Expressions – Big Happy
- Subsentiment: Brutus Monroe – Christoper’s Sentiments
- Embossing folder: Creative Expressions – Moroccan Tile
- Floral dies: Spellbinders – Mini Blooms & Sprigs
- Glossy cardstock: Tonic Studios – Mirror Card Glossy Black
- Foam adhesive: Scrapbook Adhesives by 3L – Crafty Foam Tape
- Double sided tape: X-Press It
- Liquid glue: Bearly Art – Precision Craft Glue
- White cardstock: Accent Opaque 80 lb (for die cuts), 120 lb (for card base)
- Glitter marker: Scrapbook.com – Clear glitter


No Comments