Hello Friends! As you know, Kreative Kinship is a sister team and the projects we share here on this account are always the result of a collaboration of effort, input and creativity. The exception to this is when we share the cards we individually make for each other and today’s card project is one of those exceptions.
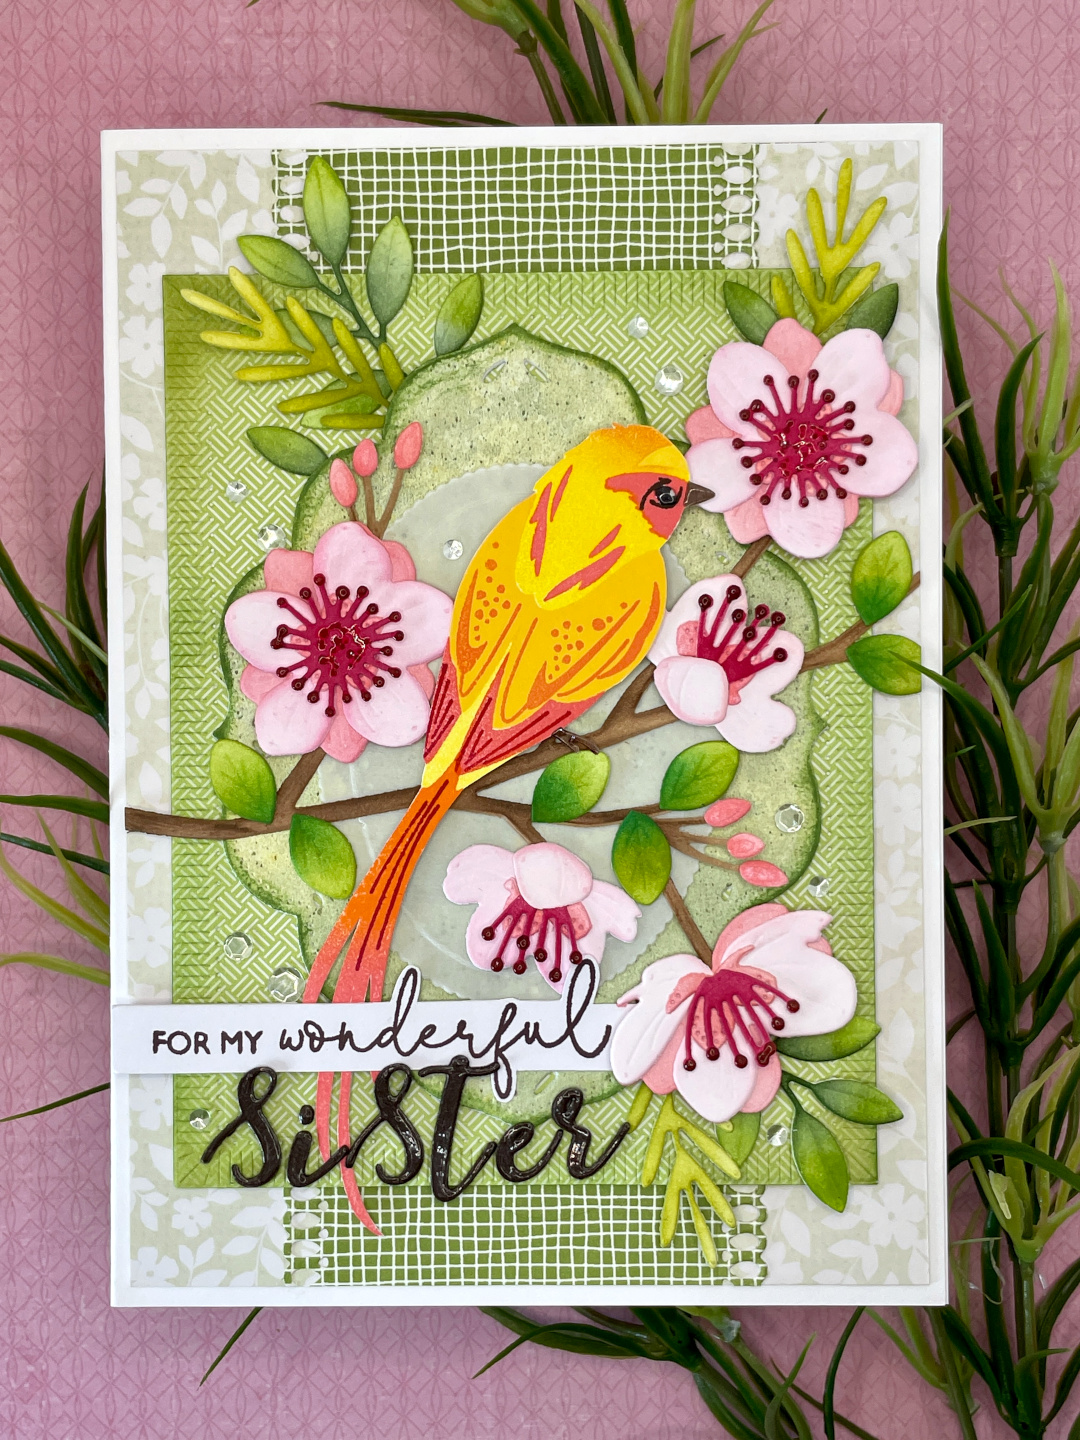
When your sister, best friend and crafting partner celebrates a birthday, you try your best to create a masterpiece that incorporates all of her favorite things! The card we are sharing today features lots of layers, dimension, diecut florals and a pretty bird in her favorite color, yellow! Happy Birthday Maureen!
Focal Point
- The layered bird was stamped onto mid-weight cardstock with various dye inks. Once dry, the bird was fussy-cut and set aside.
- The various layers of the floral branch and extra greenery pieces were cut from white cardstock and were blended with dye inks. The flowers were assembled using liquid glue.
- The sentiment letters were cut from several layers of dark brown cardstock and stacked/adhered atop one another with liquid glue.
- The subsentiment was stamped with dark brown ink and was cut into a strip.
Background Panel
- The light green patterned paper panel was cut to 4 3⁄4” x 6 3/4” using a paper trimmer.
- The large rectangle was cut with a die and measures 4” x 5 1/4”.
- The green grid patterned paper was cut with a paper trimmer into a strip that measures 2-7/8” x 6-3/4”. A border die was used on the vertical edges of the strip to create the eyelet edges.
- The center bracket was cut from patterned paper and the oval from vellum using dies from the same die set.
Card Assembly
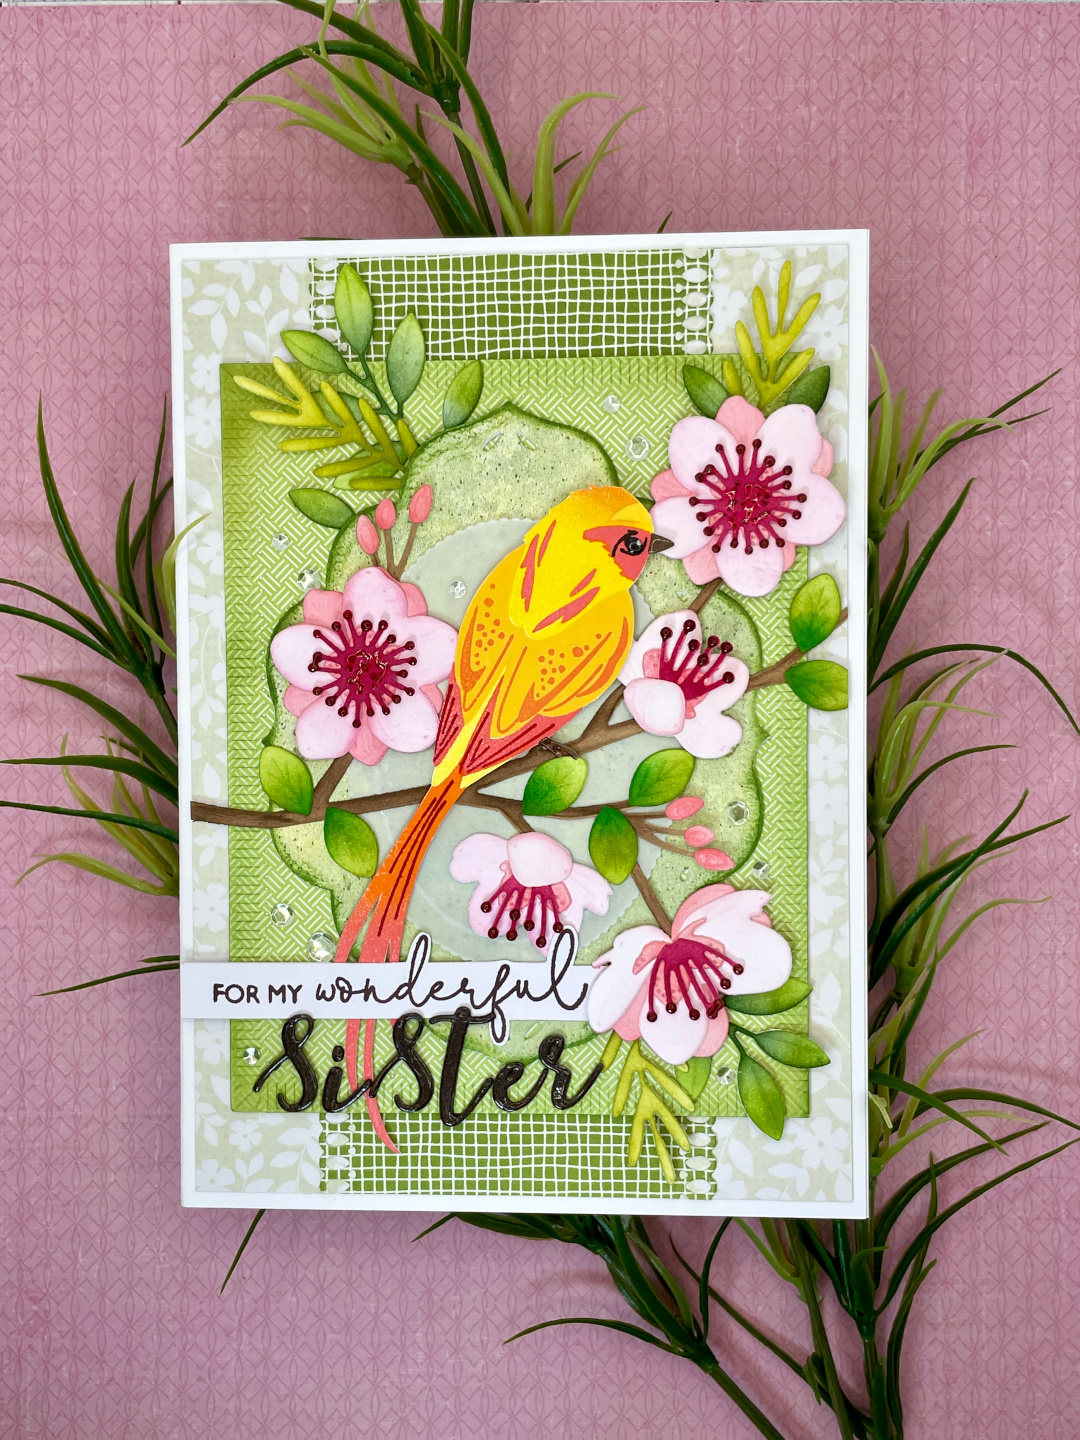
- The various layers of the background were layered and adhered as shown using a combination of liquid glue and foam adhesive.
- The branch was adhered atop the card panel using liquid glue. Foam adhesive was used under the ends of the branch so that all the sections had the same level of dimension.
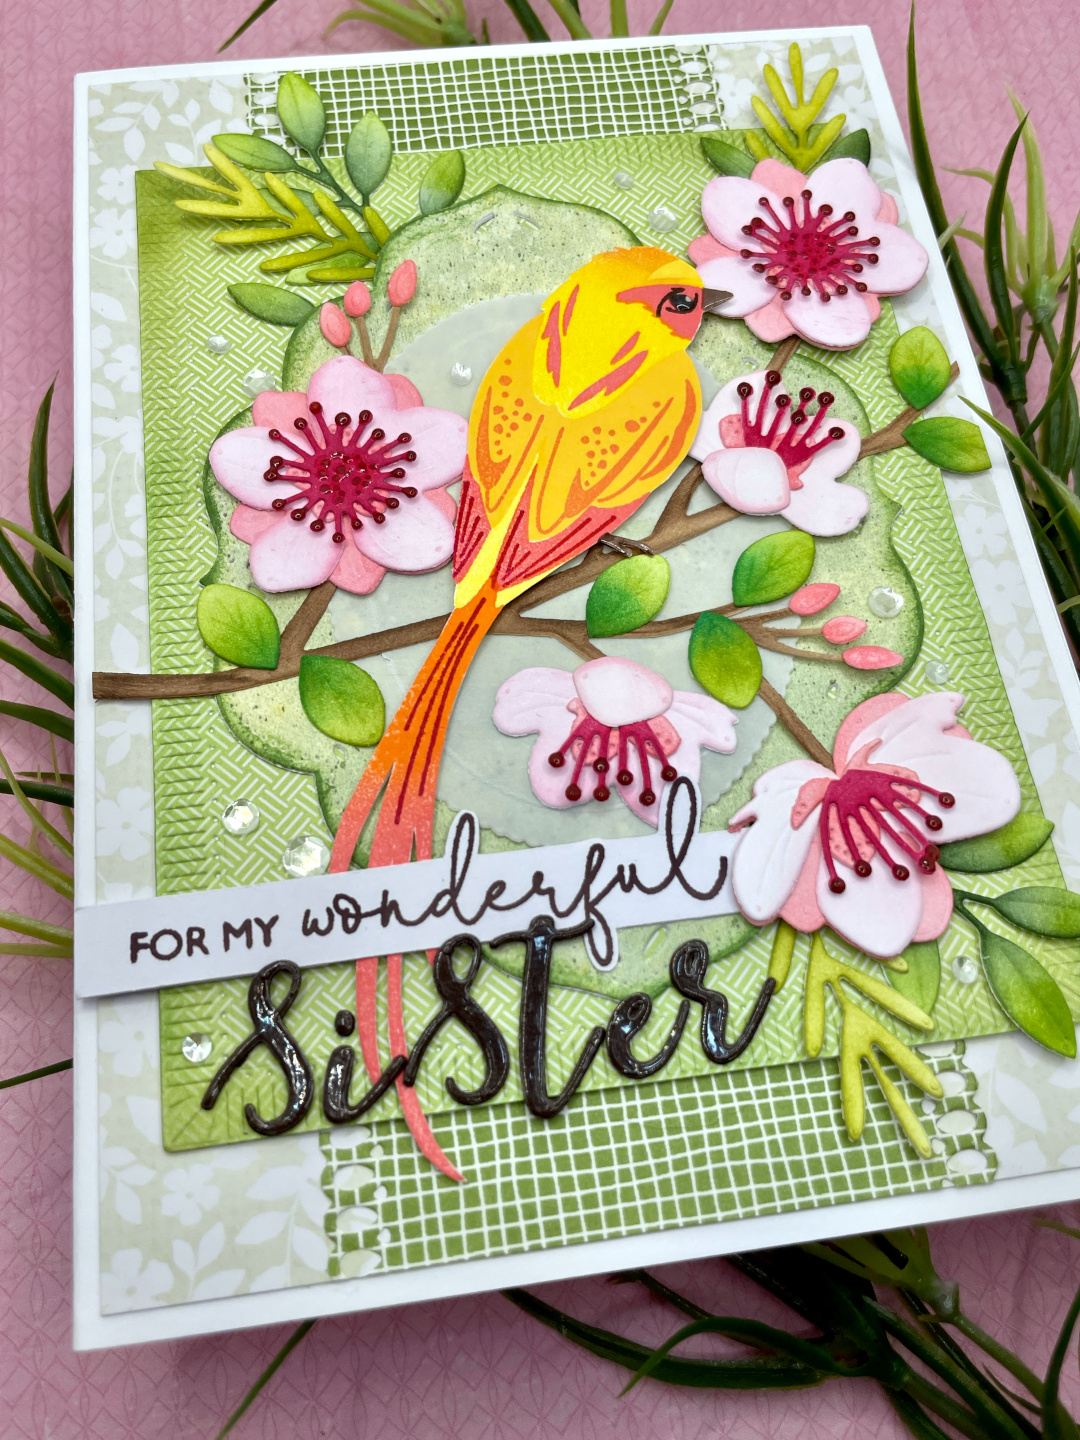
- Once the branch was adhered and the final placement of the bird was determined, the flowers, leaves and extra greenery pieces were arranged and adhered with a combination of liquid glue and foam adhesive.
- The bird was adhered in the center of the panel using foam adhesive.
- The sentiment and subsentiment were adhered using liquid glue.
- The entire card panel was adhered to a 5”x7” heavyweight card base with strong adhesive.
Finishing Touches
- A coat of clear dimensional medium was added in the center of the flowers and over the eye, beak and feet of the bird.
- A few sparkling clear sequins were scattered and adhered to the card panel with liquid glue.
We hope that sharing our card with you today has inspired you to create! As always, we are so thankful for your visit. Stay well!
Crafty hugs,
Michele and Maureen
Supply List
- Bird: Papertrey Ink – Feathered Friends Mini 22 stamp set
- Floral branch: Papertrey Ink – Into the Blooms: Cherry Blossoms
- Greenery: Papertrey Ink – Into the Blooms: Clover
- Center Bracket dies: Papertrey Ink – Love to Layer: Beautiful Bracket
- Large Rectangle die: Spellbinders – Fluted Classic Rectangles
- Edger die: Spellbinders – Create a Slimline Border
- Alphabet dies: Sizzix – Elle – Lowercase
- Subsentiment: Avery Elle – Hummingbird
- Dye Inks: Catherine Pooler and Altenew
- Vellum – Simon Says Stamp
- Clear dimensional medium: Ranger – Glossy Accents
- Cardstock: Accent Opaque (80 lb. White, 120 lb. White)
- Green patterned papers: Unknown – From our stash


No Comments