Hello and welcome! We are happy that you stopped by.
We recently bought several new stand-alone layering die sets from The Greetery and finally had time to play with them. We absolutely love how easy it is to create layered dimension with these beautiful products! Today we are sharing a card that we put together featuring a few of these new die sets. We are entering this card into the Simon Says Stamp Wednesday Challenge where the criteria this week is to Layer It Up and use, if possible, a product from Paper Rose which was our stencil of choice in this project.
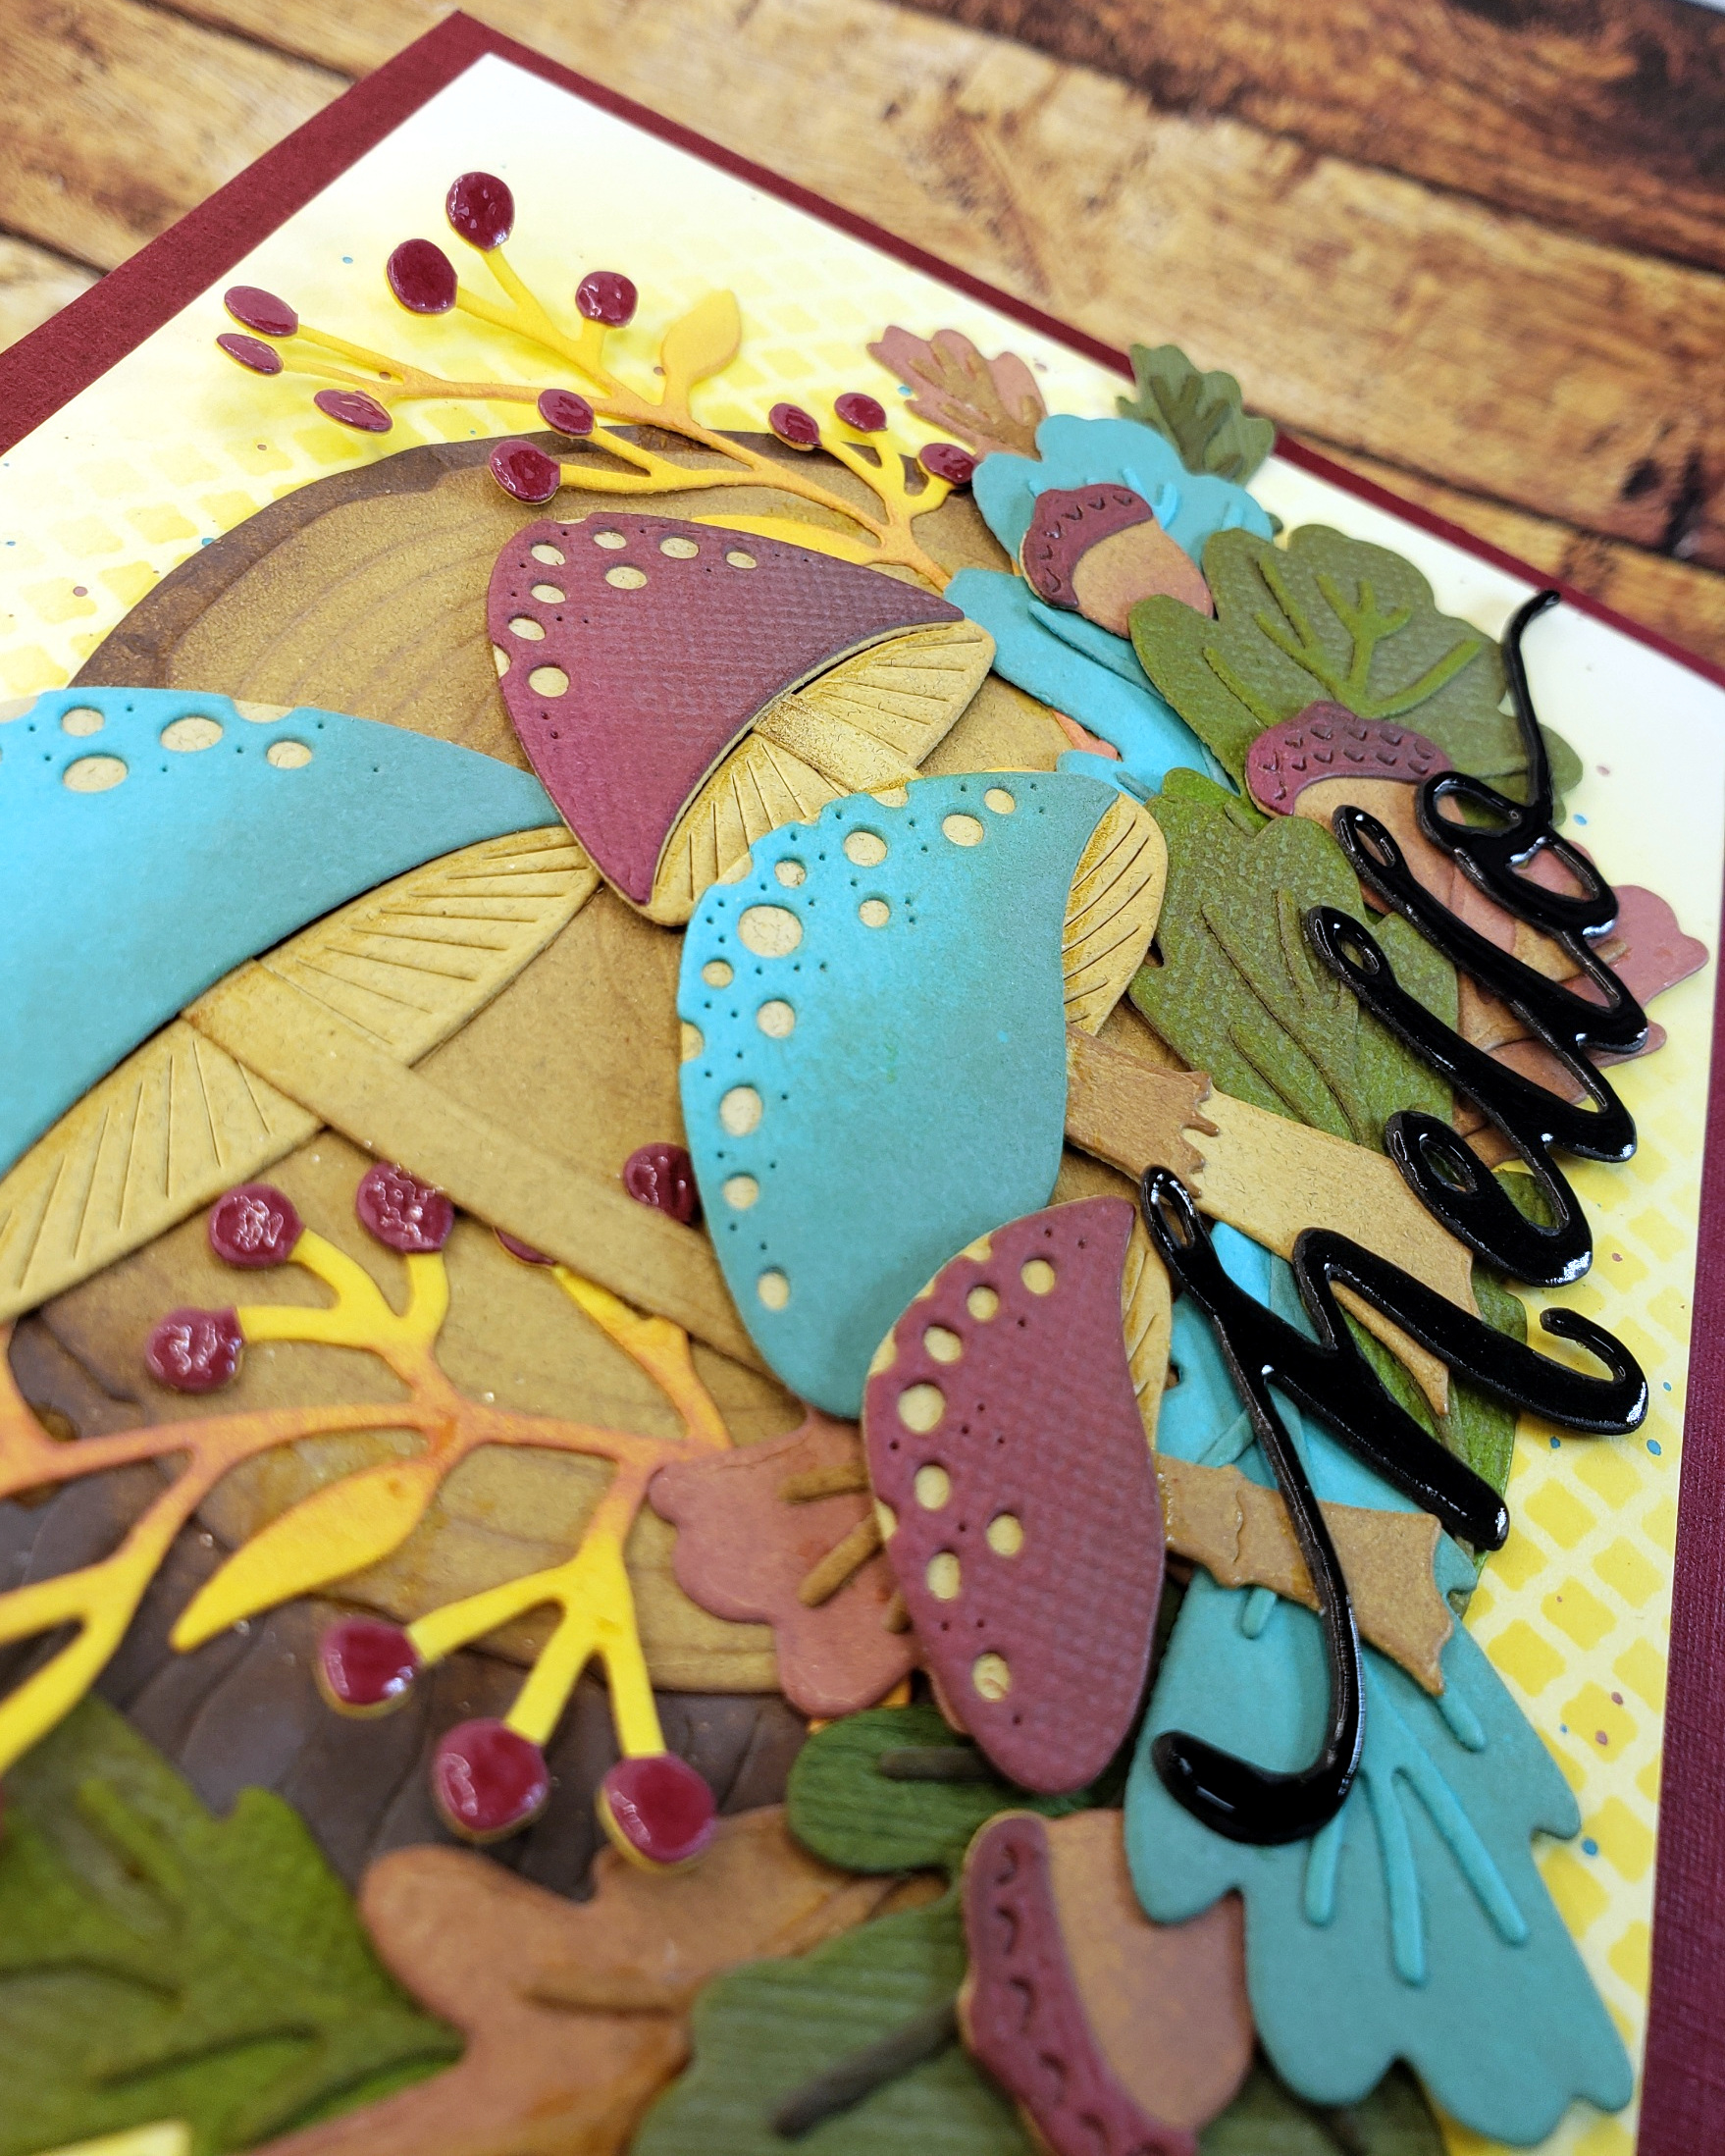
Focal Point:
- Several elements from each die set were cut using 6 solid-colored cardstocks from a pre-selected color palette
- Shading was applied to all the layers with Distress Oxide Inks using blending brushes
- The layering die cut elements were assembled and adhered using liquid glue

Background Panel:
- A 5” x 6” panel was cut from ivory cardstock
- The center only of the panel was lightly stenciled with Distress Oxide Inks using a blender brush
- The panel was then splattered with several colors of Distress Oxide inks that were used to apply shading to the die cut elements
- Once dry, the panel was then cut down to approximately 3 ¾” x 5”
Card Assembly:
- The die cut elements were laid out on the card panel to determine placement and orientation. Once we were happy with the arrangement, a sheet of Press-n-Seal plastic wrap was pressed over the top to temporarily “stick” all the elements of the arrangement in place.
- Liquid glue was then applied to the back of the arranged elements being held in place by the plastic wrap. The plastic wrap was then gently flipped over and laid back down onto the background panel to adhere the arrangement
- A sentiment die was cut twice from black cardstock. The die cuts were stacked and adhered with liquid glue to form a dimensional word, which was adhered to the lower right corner of the card panel
Finishing Touches:
- The entire card panel was matted with a dark burgundy colored cardstock piece measuring 4 ¼” x 5 ½”
- Clear dimensional medium was added to the berries and the die cut sentiment for added dimension and shine
- The completed card panel was adhered to a white notecard
We had a ton of fun making this fall-themed card using these awesome stand-alone dies. We hope you like it as much as we do! As always, we are truly grateful for your visit today. We hope and pray that you and your loved ones stay safe and healthy!
Michele and Maureen
“When we seek to discover the best in others, we somehow bring out the best in ourselves.”
William Arthur Ward
Supply List:
- Focal point die cuts: The Greetery – “Toadstool Garden”, Mighty Oak” & “Wood Slices”
- Focal point branches w/berries: Sizzix – “Garden Greens”
- Word die cut: W Plus 9 – “Hand Lettered Hello”
- Background stencil: Paper Rose – “Floral Mesh”
- Distress Oxide Inks – Ranger/Tim Holtz
- Aged Mahogany
- Ground Espresso
- Brushed Corduroy
- Evergreen Bough
- Crushed Olive
- Forest Moss
- Fossilized Amber
- Rusty Hinge
- Liquid glue: Art Glitter
- Clear dimensional medium: Ranger – Glossy Accents
- Colored cardstock: From our stash and scrap bin – Unknown


No Comments