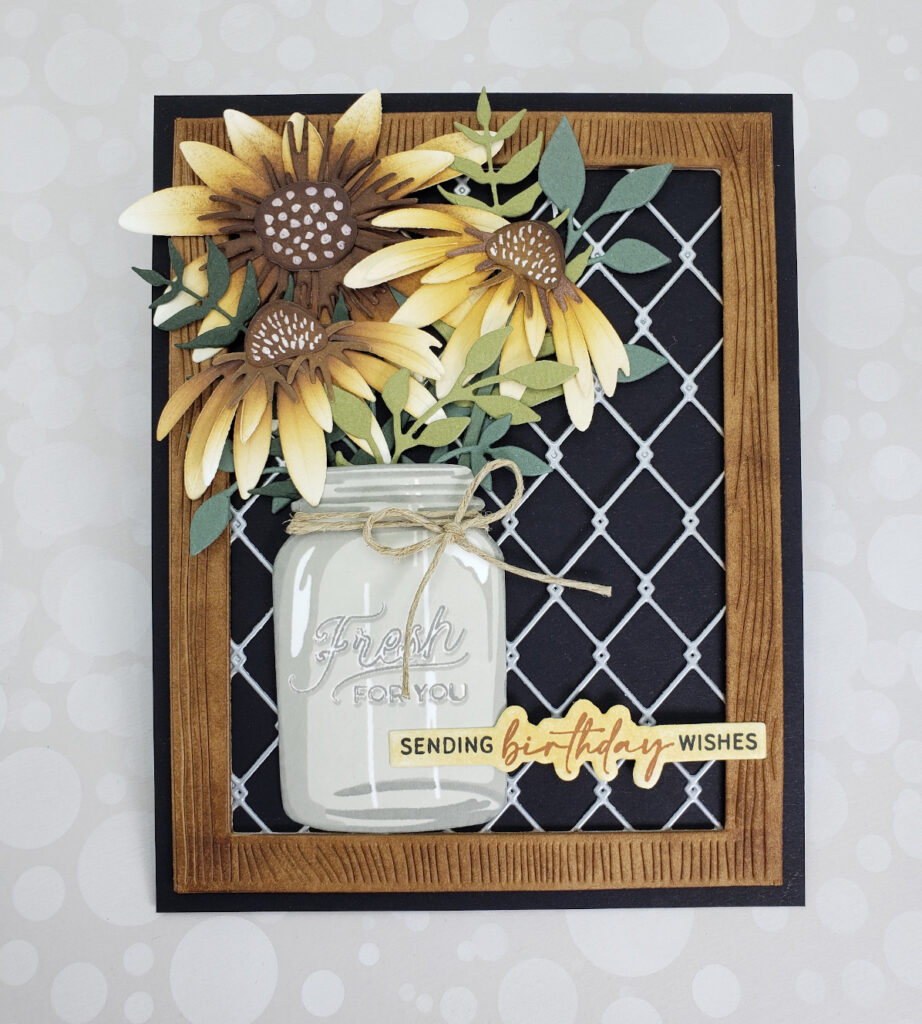
Hello friends! This is our first blog post in several months and we apologize for that. Life has gotten in the way a bit combined with some long-overdue travel to visit our kids in various parts of the country. It definitely feels good to travel again, but it was absolutely Heavenly to see our children in person after too many months apart!!
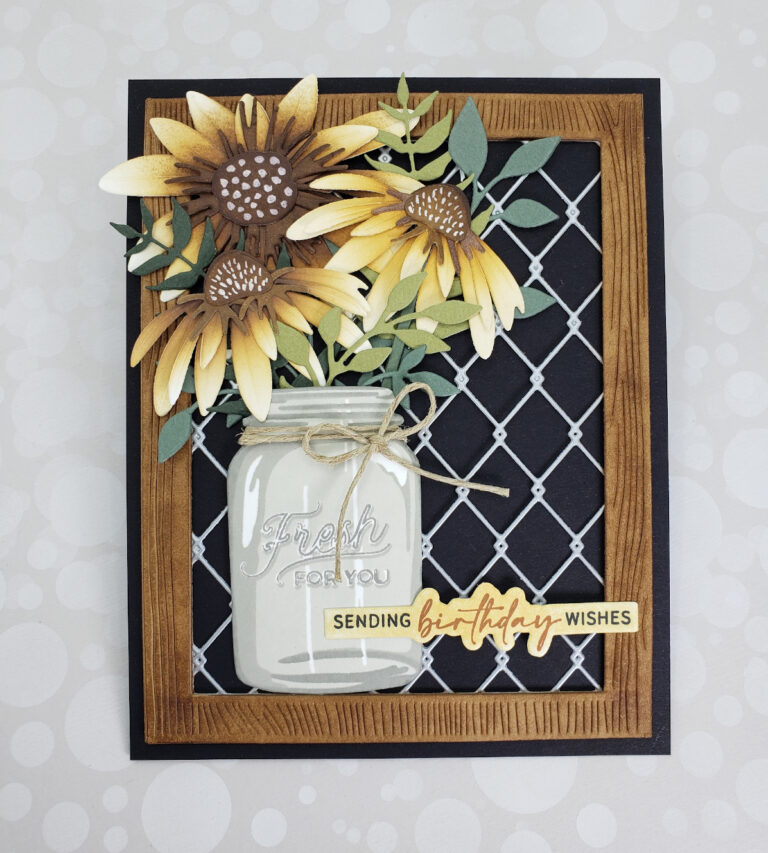
Today we are sharing a card we made for a friend who is a farmhouse-loving kinda gal. We thought that it would be fun to create a card that would appeal to her rustic style.
Focal Point:
- We started by stamping the mason jar using a set of gray dye inks by Altenew.
- Using a variety of green cardstock scraps, we went through our die sets and found several leaf dies that would make good fillers between the flowers.
- Using white 80lb cardstock, we cut the flower parts using dies from both floral die sets (each flower has two layers of petals, a ‘fringe’ layer and a center). Using a blending brush, we ink-blended color onto the two layers of petals going from lightest to darkest keeping the very tips of the petals white. The ‘fringe’ layer of the flower was ink blended using the medium and dark brown, and dark brown was added to the flower centers. After the flower parts were all inked, they were adhered together using liquid glue.
- The sentiment was stamped using brown dye ink and Versafine black onyx ink and then cut using the coordinating die.
Background Panel:
- The chicken-wire was cut from a piece of light gray matte metallic cardstock. This chicken-wire die (from Kat Scrappiness) has a wood frame around it but we wanted something a little wider so we used our Hero Arts wood frame die and cut a frame from brown cardstock.
- Using the Walnut Stain and Ground Espresso Distress inks, we blended color onto the frame to make the wood grain details stand out a bit more. This frame was then glued on top of the chicken-wire frame.
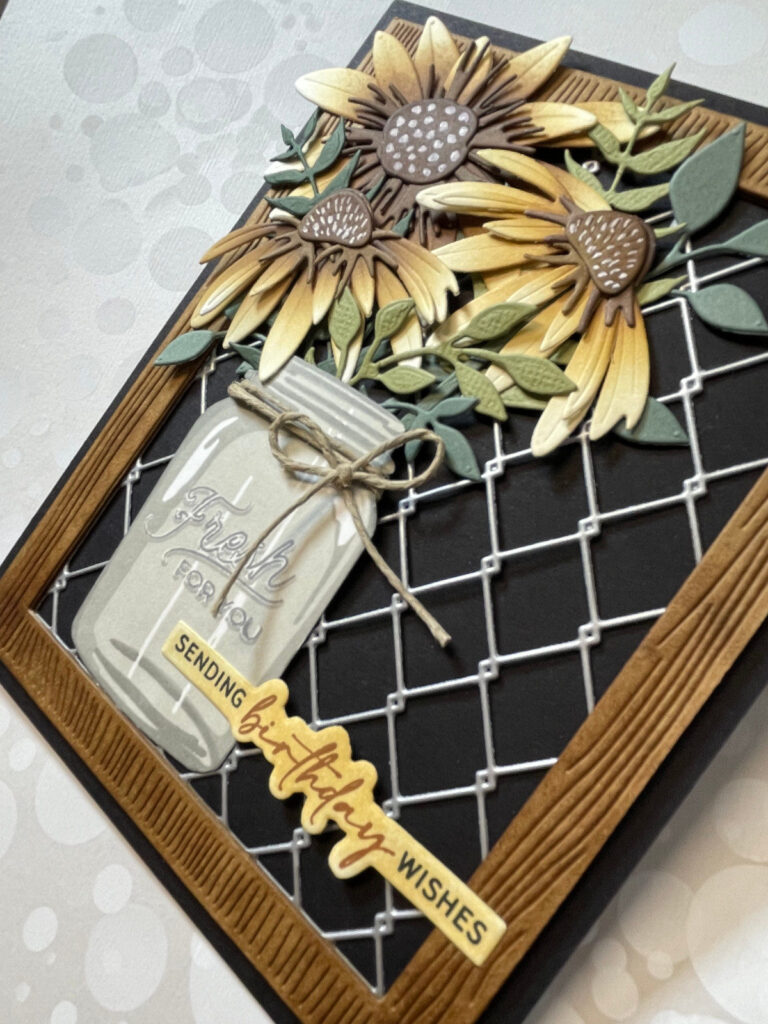
- The chicken wire and wood frame die cuts were then adhered to a 4-3/4″ x 6″ piece of black cardstock with foam tape to add depth.
Card Assembly:
- The flowers and leaves were arranged so that they appeared to be coming out of the mason jar. This was a bit tedious, but once we were happy with the arrangement, we used Press-n-Seal wrap to hold everything in place while we flipped the arrangement over to adhere everything together with a combination of score tape and liquid glue.
- Small foam dots were adhered in a few places behind some petals to give the arrangement some dimension.
- The floral arrangement, mason jar and sentiment were then adhered to the card panel using liquid glue.
Finishing Touches:
- We added a bit of jute to the rim of the mason jar with a bow and glued it in place using liquid glue.
- A white gel pen was used to add detail to the flower centers.
Thanks so much for stopping by. Stay safe and happy crafting!
Maureen and Michele

Supply List:
- Flower Dies: Papertrey Ink – Into the Blooms and Into the Blooms II
- Mason Jar: The Greetery – Just Mason Around
- Sentiment: The Ton Stamps – Easy Expressions
- Foliage Dies: Various
- Chicken Wire Die: Kat Scrappiness – Wood Grain Framed Diamond Wire
- Wood Frame Die: Hero Arts – Wood Frame Infinity Die
- Distress Ink: Tim Holtz/Ranger – (vintage photo, gathered twigs, walnut stain, ground espresso)
- Dye Ink: Altenew (Limestone, Silver Lake, Gray Denim)


No Comments